E.tchd Simplifying Posterior Dentistry Protocol
1.
Diagnosis/Assesment
PA/Sensibility Testing
Rubberdam?
2.
Remove old restoration
Remove Decay
Assess Cusps
Margin Design
Shades
3.
Occlusal clearance
Rubberdam Isolatoion
Removal Thin cusps/cracks
4.
Air Abrasion
DME
IDS
Composite
Glycerine Cure
5.
Re-prep
Expose enamel
Polish Soflex Discs
Spiral Polishers
6.
Scan / Impression
Temporisation
E.tchd PROTOCOL
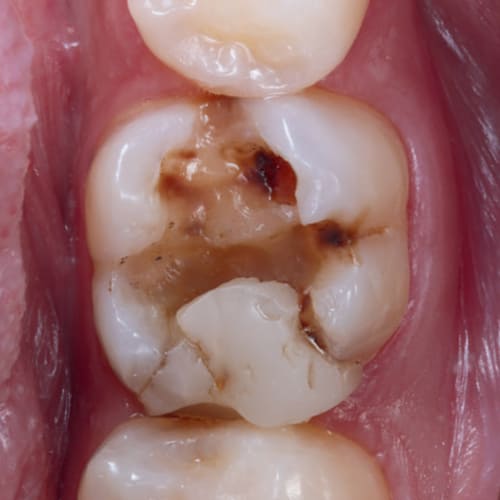
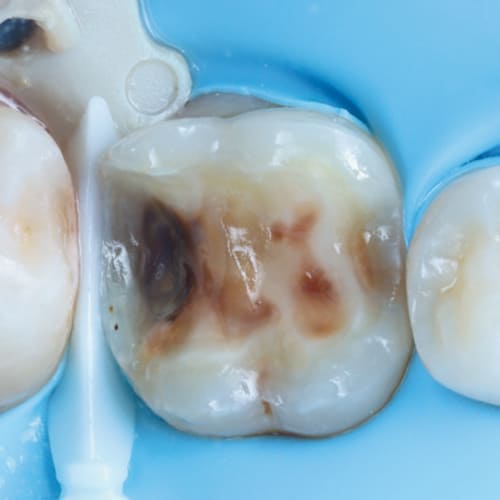
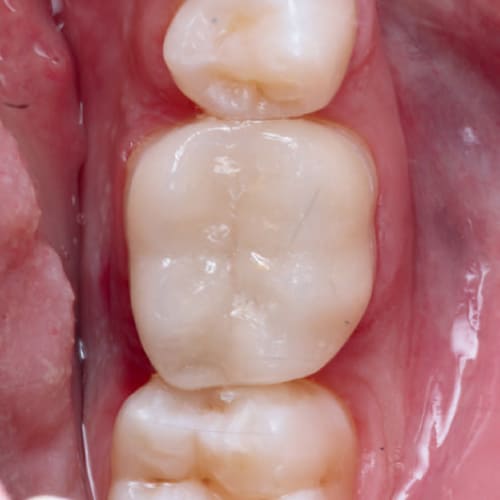
STEP 1
Isolation & Preparation
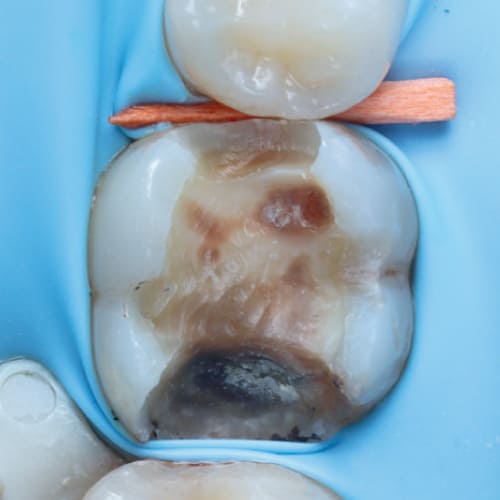
- Occlusal Clearance: Achieve at least 2mm of occlusal clearance to ensure sufficient ceramic material thickness and reduce the risk of fracture.
- Rubber Dam Application: Begin by placing a rubber dam to isolate the teeth, ensuring optimal moisture control and soft tissue retraction. Secure the dam with a floss ligature to enhance cervical retraction.
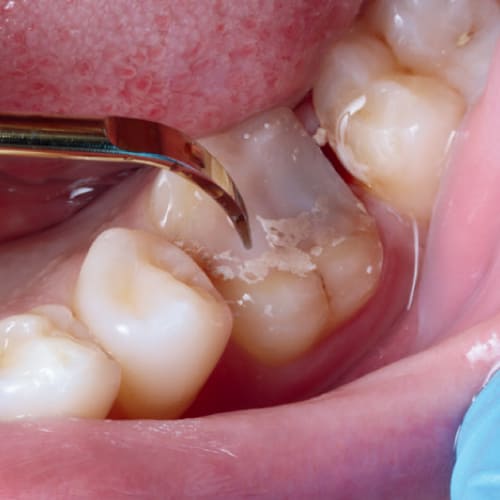
- Removal of all old restorations and any caries present: carefully remove any existing amalgam restorations, caries, and visible cracks in the enamel.
- This step is critical for eliminating potential sources of failure and creating a clean surface for bonding.
- Occlusal Clearance: Achieve at least 2mm of occlusal clearance, particularly for bruxist patients, to ensure sufficient ceramic material thickness and reduce the risk of fracture.
- Ensure remaining walls have sufficient thickness and the preparation is smooth.
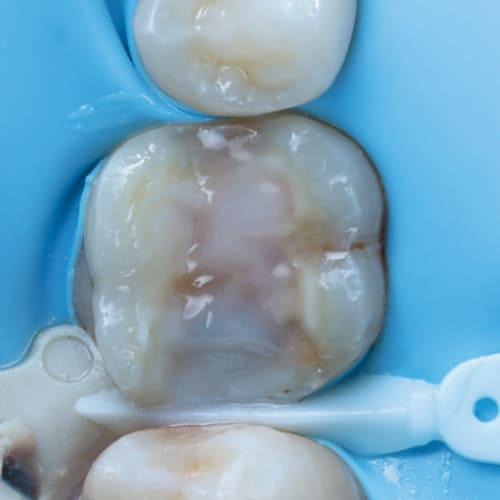
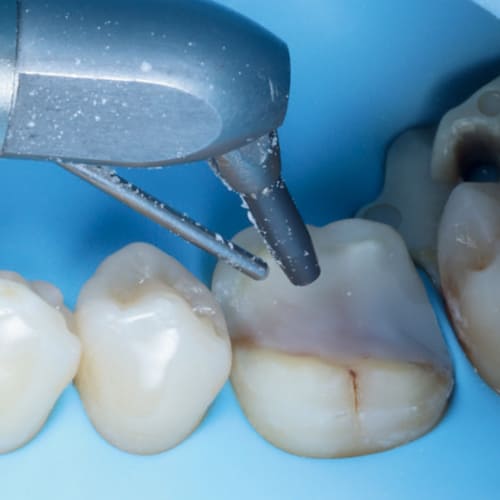
STEP 2
Immediate Dental Sealing & Core
- Follow bonding protocol – Air abrasion & phosphoric etch.
- Dentine Sealing: Apply a bonding agent to freshly cut dentine to seal the tubules immediately. This step reduces postoperative sensitivity and bacterial infiltration.
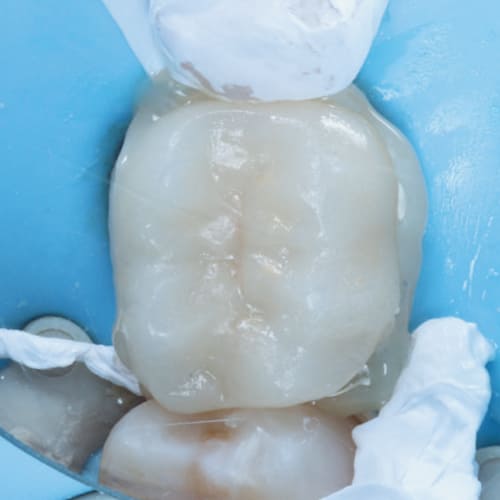
- Composite Restoration: If necessary, place a composite restoration to create a uniform surface with no undercuts. This helps in achieving a precise fit and enhances the bonding surface. Flowable composite can be used.
- Flowable composite can be used to remove any undercuts.
- Deep margin elevation maybe needed for some preparations.
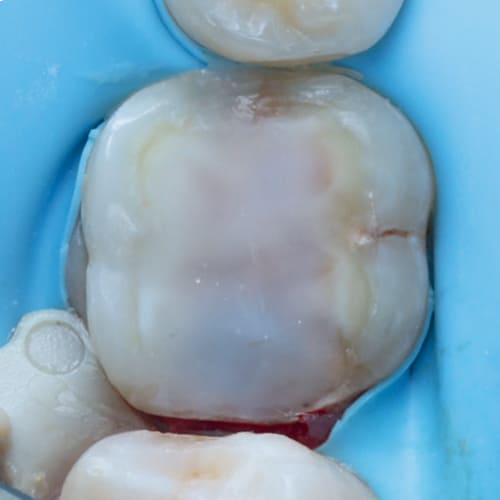
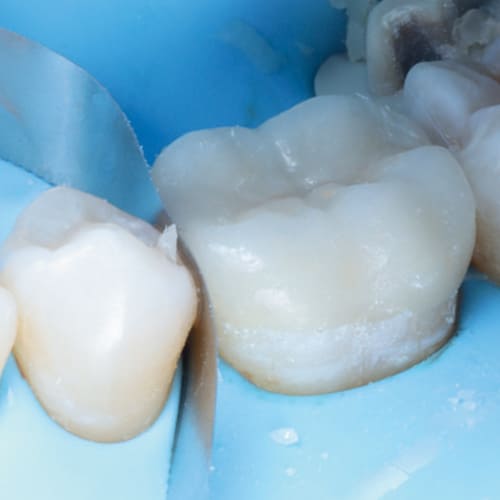
STEP 3
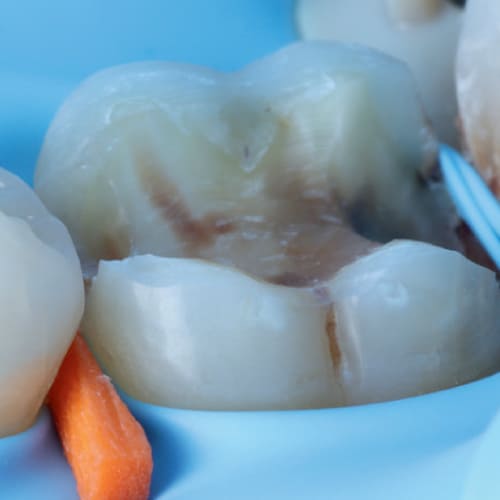
Finishing & Polishing
- Use polishing discs and yellow stone around the enamel and leave the preparation smooth. Ensure no sharp angles or rough areas remain.
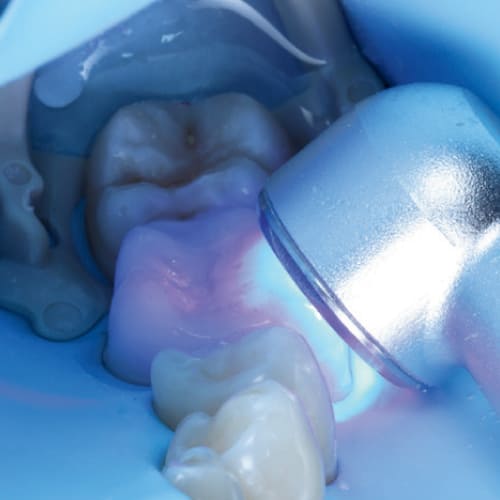
- Cure under glycerine to remove the oxygen inhibition layer.
- Use 000 retraction chord
- Take scan / Impression and ensure that the margins are clearly visible – remember if you can’t see it it is likely that the technician will struggle to see it!
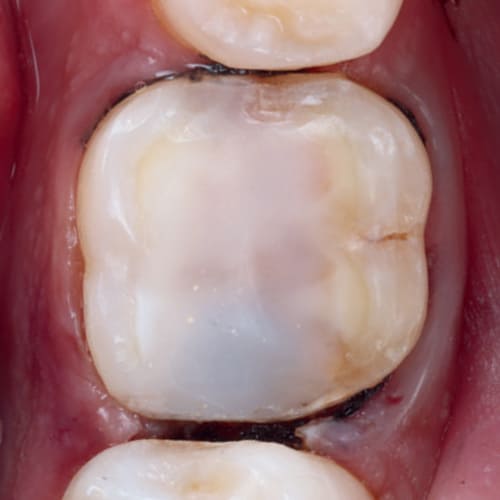
STEP 4
Temporisation
- Temporary overlay fabrication: Use a pre-formed silicon matrix to fabricate a temporary crown with Luxatemp (bisacrylic composite resin). Bond with Poly F / Zinc Polycarboxylate Cement.
- Spot etch techinique can be used here.
- For flat preparations it is recommended to place a small amount of flowable into the undercuts of neighbouring teeth to help secure the temporary.
- Ensure inter-proximal areas can still be cleaned with a Tepe Brush.

STEP 5
Try In Stage
- Removal of Temporary Crown: Gently remove the temporary crown using a flat plastic instrument.
- An ultrasonic can be used to agitate and remove the temporary cement.
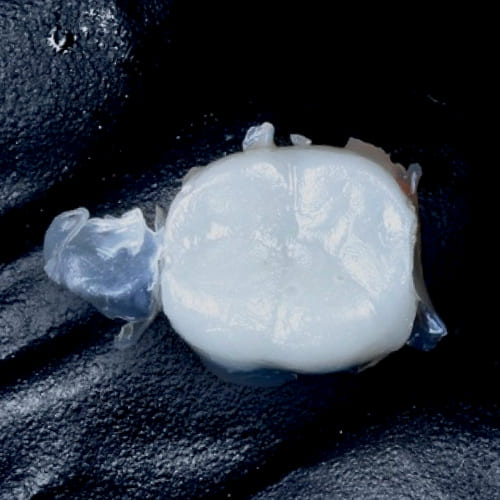
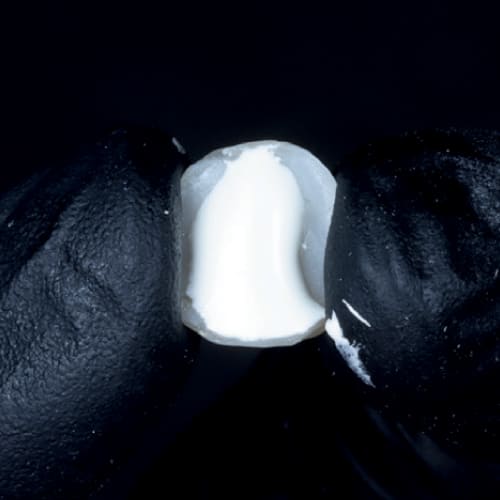
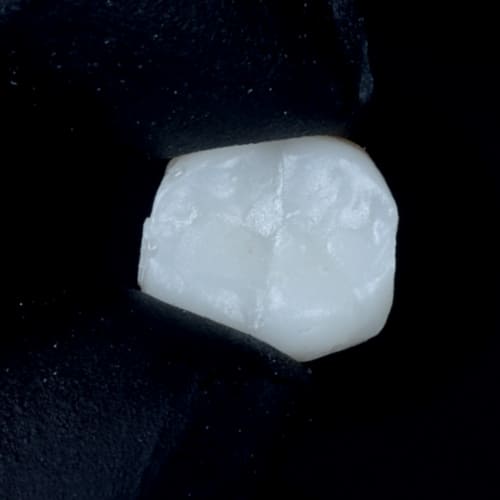
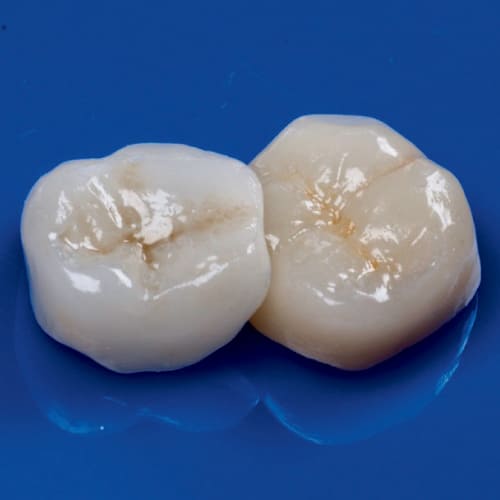
- Try-in of Permanent Restoration: e.max onlay using glycerine. Check the marginal fit and make any necessary adjustments before proceeding.
STEP 6
Surface Preparation of Onlay
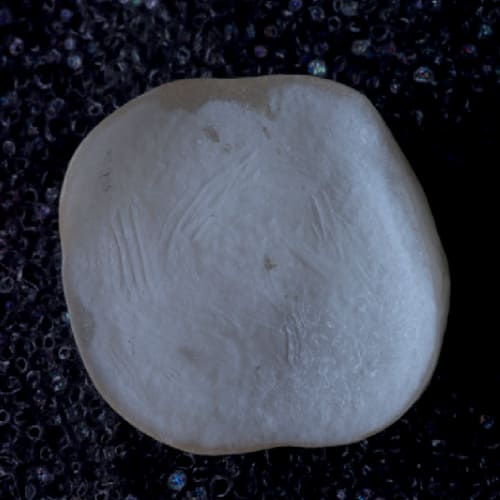
- Cleaning the Onlay: Clean the fit surface of the onlay with Ivoclean (Ivoclar Vivadent .
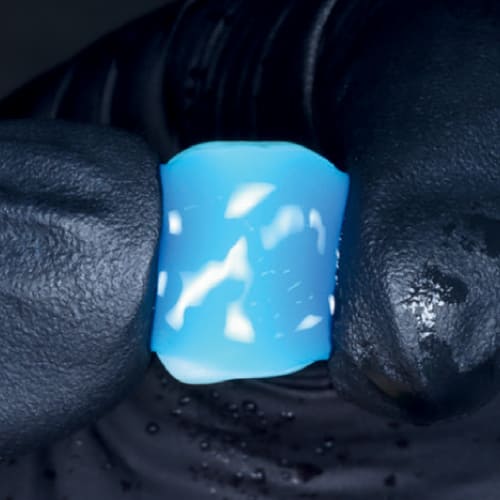
- Etching: Etch the fit surface of the onlay with 5% hydrofluoric acid for 20 seconds. Time this precisely to avoid over-etching, which can weaken the ceramic.
- Place in ultra sonic bath using distilled water 3-5 minutes to remove crystal residues. Phosphoric etch can also be used.
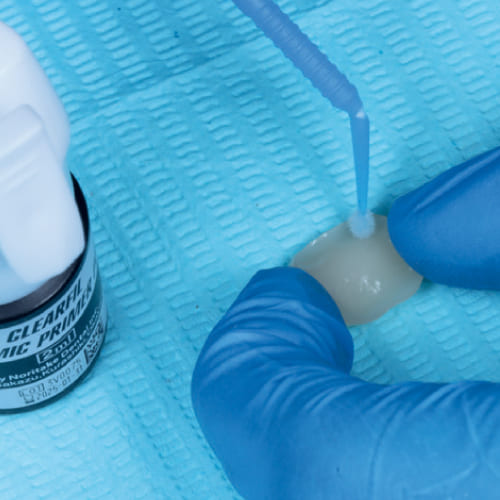
- Silane Application: Apply a silane primer (such as Kerr or Ivoclar’s Monobond Plus) to the etched surface. Allow it to react for 30 seconds, then air dry with oil-free air for 10 seconds.
- Important to communicate with laboratory to know whether your restoration is pre etched or not.
STEP 7
Tooth Surface Preparation
- Cleaning the Tooth: Use an ultrasonic scaler and air abrasion (27-micron alumina oxide particles) to clean the tooth surface, ensuring it is free from debris and bacteria.
- Etching the Enamel: Etch the enamel with 37% orthophosphoric acid for 30 seconds.
- Rinse and dry thoroughly.
- Isolation with PTFE Tape: Place PTFE tape between adjacent teeth to prevent resin cement from bonding them together.
- Metal serrated strips can be placed either side of the preparation to prevent
- sandblasting the adjacent teeth.
STEP 8
Adhesive Application
- Bonding Agent: Apply Optibond FL 2 Adhesive or chosen bonding agent to the tooth
- preparation. Do not light cure at this stage to prevent excessive resin thickness, which can impede proper seating of the onlay.
- Universal bonding agent can also be used.
- Ensure to not “pool” the bonding agent and spread uniformly.

STEP 9
Cementation
- Application of Resin Cement: Apply dual cure cement or heated composite to the fit surface of the onlay.
- Seat the onlay onto the preparation and remove excess cement with microbrushes.
- Tack cure the cement for 2-3 seconds to facilitate the clean-up process.
- Remove all excess using and ensure to clean the inter-proximal areas.
- Full Curing: Perform a full cure from all angles (buccal, lingual, and occlusal) for 2-3 minutes to ensure complete polymerization of the resin cement. Ensure to cure around the restoration and tooth.
- Glycerin Application: Apply glycerin gel to the onlay margins to eliminate the oxygen-inhibited layer, ensuring thorough curing of the resin cement. Light cure through the glycerin for an additional 1 minute from all angles.
- Tooth Surface Preparation Adhesive application Cementation Clean up and finis
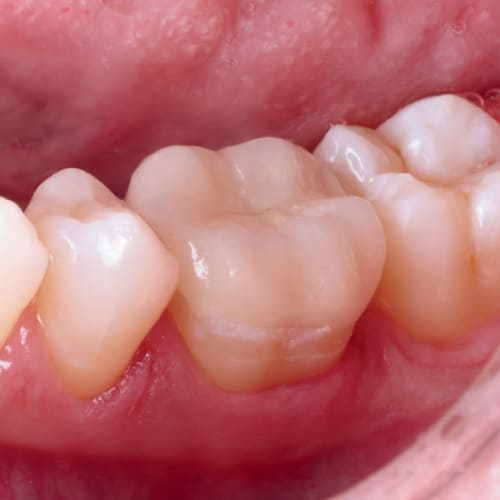
STEP 10
Final Checks
- Rinse and Check Contacts: Rinse off the glycerin, floss the contacts, and check the occlusion. Make any necessary adjustments to ensure proper fit and function.
- Polish around the margins using white stone and ensure ceramic surface is smooth if you have made adjustments.
- Ensure when polishing to take extra care to not cause cracks within the ceramic which could lead to failure of your restoration.
ELECTRICAL SURGICAL MOTOR
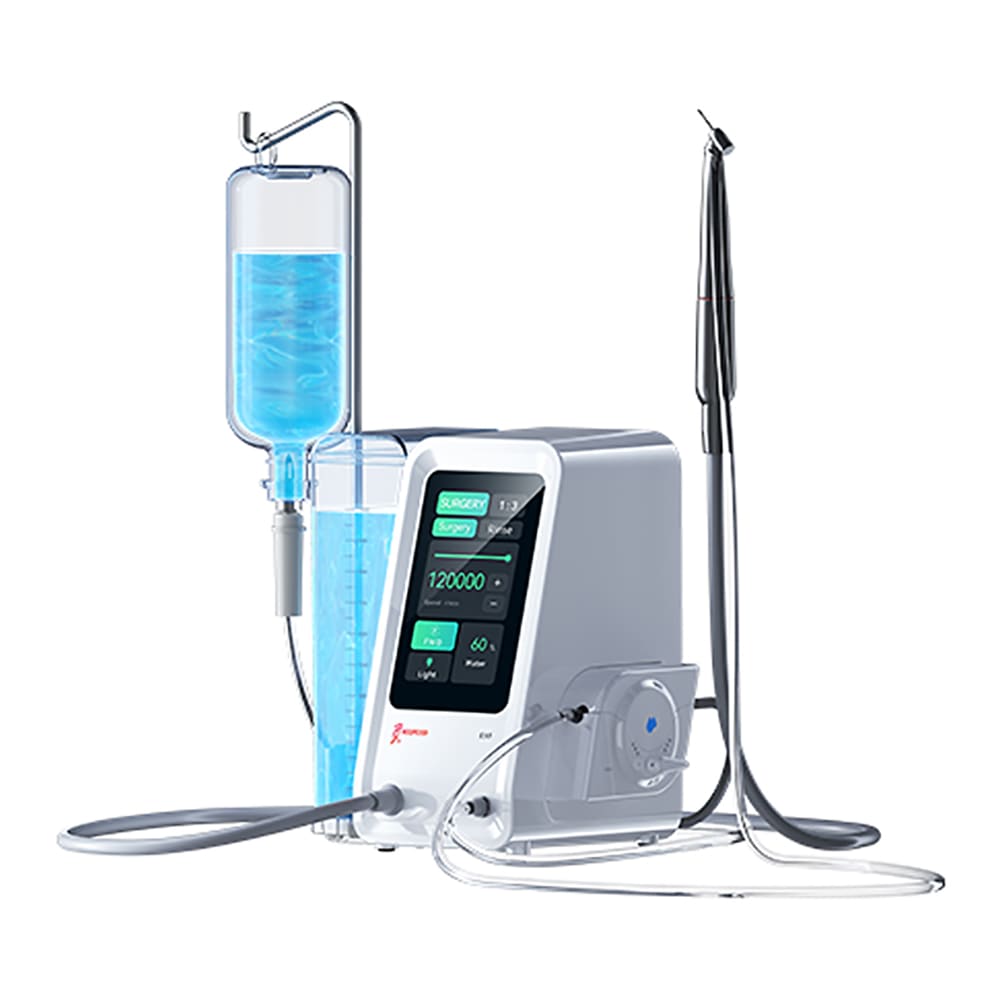
Woodpecker ES5
Electrical Surgical Motor with Water & Saline Supply
An innovative electrical motor to run a range of handpieces, also designed for surgical use, with it’s own independent water supply and saline line.

EFFICIENT 97.4%
Offers up to 97.4% higher cutting efficiency, providing precise, smooth, and efficient cutting with minimal risk of bur breakage.
STERILE SALINE
Features sterilizable and single-use irrigation lines for sterile cooling saline, minimizing postoperative pain and wound infections.
HYGIENIC HEAD SYSTEM
Anti-suck-back design prevents blood and bacteria entry, reducing cross infection and enhancing safety.
STERILE
Electrically-driven handpiece ensures no air leakage, reducing postoperative complications and over 50% fewer aerosols than air turbines for a safer treatment environment.
HIGH PERFORMANCE BRUSHLESS MOTOR
Designed for surgery with 3.5N-cm high torque, low noise, and LED lighting for a clear surgical field.
Built-in cooling systems extend handpiece life and ensure stable operation.
FLEXIBLE DUAL WATER SUPPLY SYSTEMS
Includes an internal water tank and external sterilizable irrigation lines, compatible with various handpieces and 8 pre-programmed speed settings for optimal surgical and restorative results.
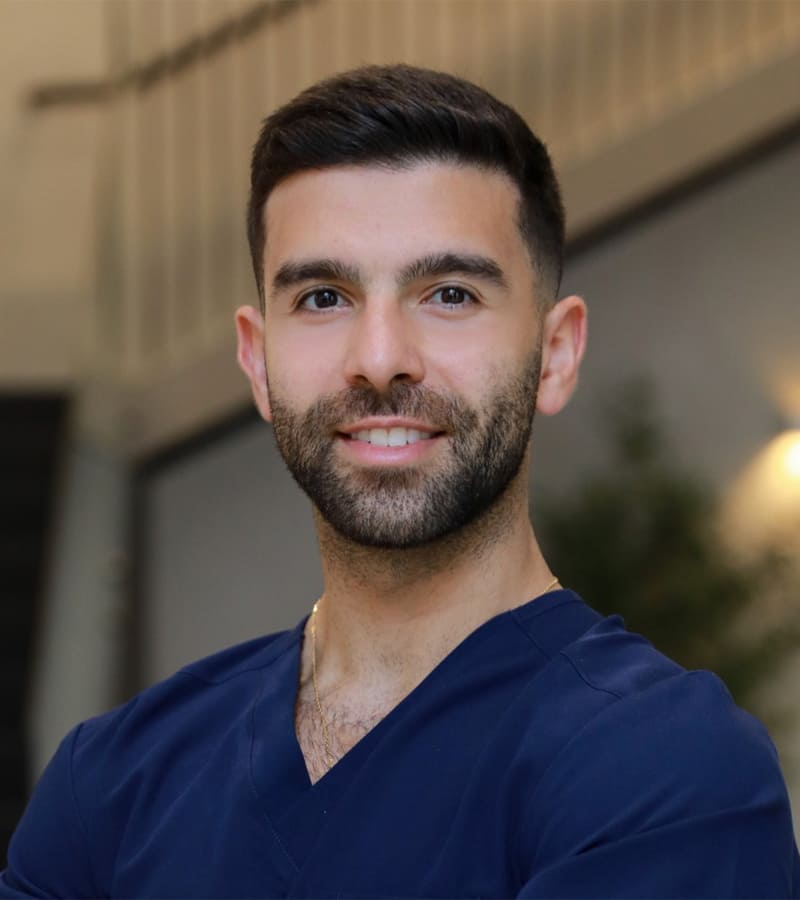
This document was created with Dr. Hassan Asad
Dr. Hassan Asad graduated with Distinction from Leeds Dental School, earning a Bachelor of Dental Surgery and an integrated Master’s in Oral Sciences.
He has since demonstrated his commitment to Restorative Dentistry and Dental Aesthetics by pursuing and completing a Postgraduate Certificate in Aesthetic and Restorative Dentistry.
He has presented research at the prestigious International Association for Dental Research in Vancouver, and in 2020, he was awarded Dental Associate of the Year.
With previous experience in reputable private clinics in London, he has recently relocated to Dubai to continue his clinical practice.
Dr. Hassan, also known as ‘The Bearded Tooth Fairy’, founded Deciduous and has lectured across the UK and, more recently, in Dubai, at conferences and clinical courses for both undergraduate and postgraduate dentists, sharing his passion for restorative dentistry and dental photography.