Free-Hand Composite Veneer Protocol
STEP 1 (1st Surgery visit)
- Initial consultation with patient, to include:
- Full examination, radiographs, determine if patient has discoloured teeth, asymmetric edges, loss of tooth surface, or crowding.
- Scan patient and request a wax up and putty index from the lab.
STEP 2 (In Lab)
- Lab will print a digital wax up and fabricate a putty index.
STEP 3
- During second consultation explain composite survival rates, go over terms of treatment, complete consent forms, and do a direct mock up.
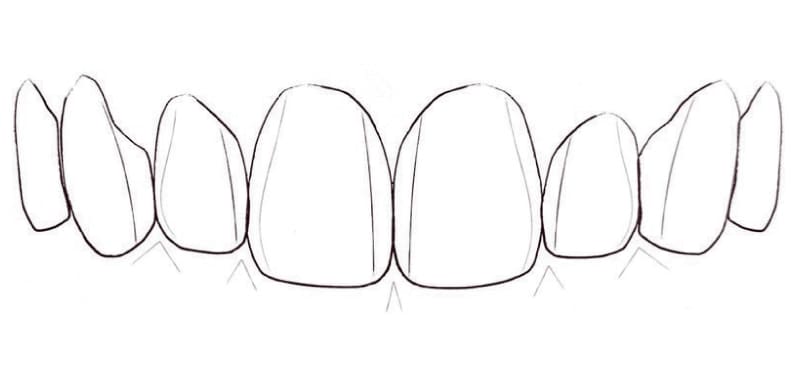
- At this stage you should determine what can and cannot be changed and achieved based on patient factors, materials and ability. Use smile design principles and decide on the preferred shape, line angles, and surface textures.
- Brief the patient in how their teeth will feel very different at first.
- Check the patients teeth whitening process.
MediMatch TIP1
Ensure teeth whitening has finished 7-14 days prior to bonding appointment.
STEP 4
- Determine the shade the patient wants.
STEP 5
- Isolate using optragate and check if the tooth requires any preparation.
STEP 6
- Use air abrasion to remove all plaque and biofilm from the tooth (27 MICRONS ALUMINA).
STEP 7
- Apply acid etch, then apply bond and light cure the tooth.
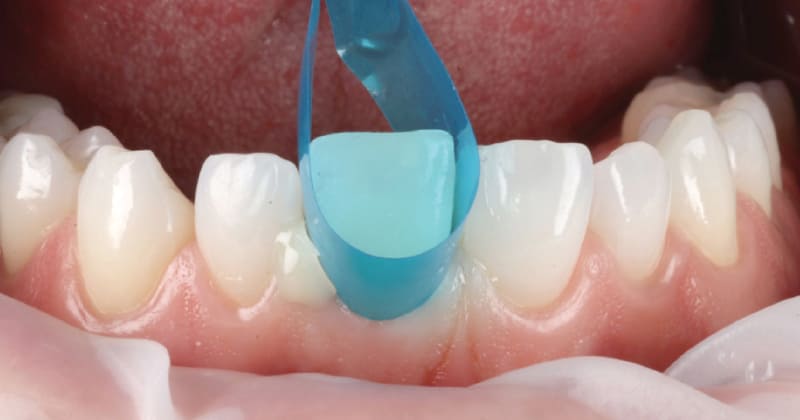
STEP 8
- Create your back wall.
- This can be created with a lab putty index if you have a wax up.
Or use a clear stirp to do this by free hand.
Make sure that you:
1.Respect the occlusion if you are adding length.
2.Use the same shade as the tooth when building the first wall to avoid transition in colour.
3.Aim to make a box shape (square).
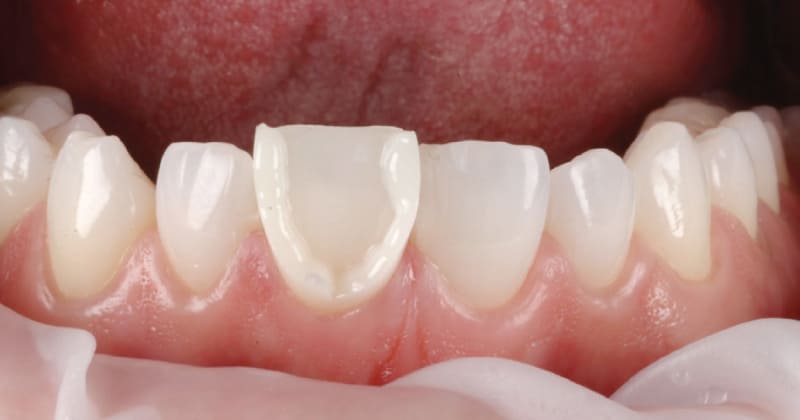
STEP 9
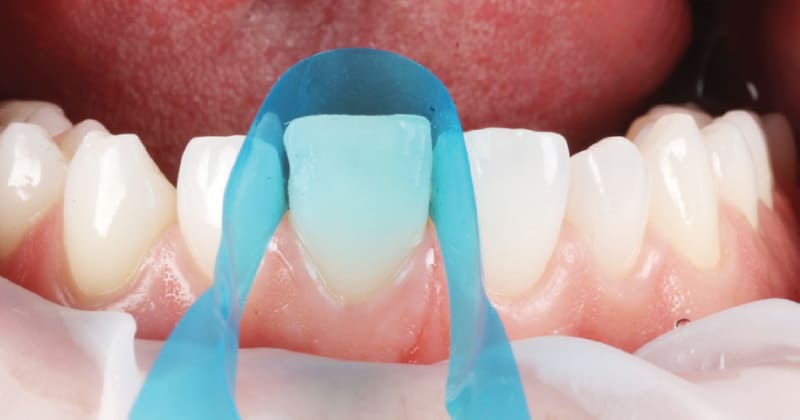
Creating your frame. Use varistrip/directa clear strip to ensure you have perfect margins. This will give you better control when creating your shape.
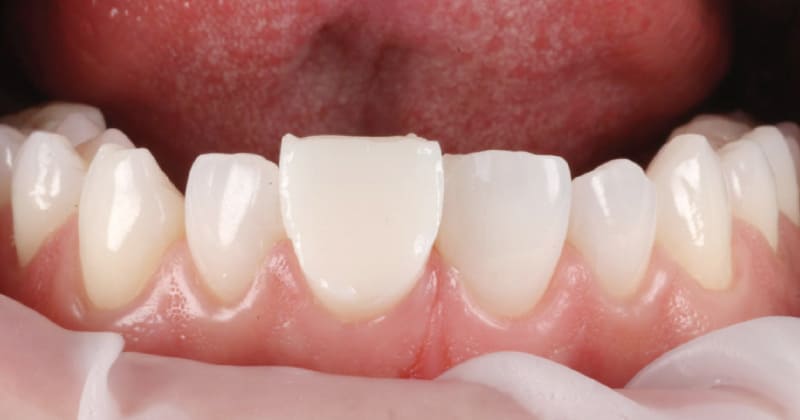
STEP 10
- Adding buccal composite. If the tooth is non -vital add an opaque layer by building up what you have and cut back. Compress the composite using optrascult or your finger and ensure there are no voids. Use wetting resin to help sculpt the composite.
STEP 11
- Use a red soflex disc to create the outline of your veneer.
STEP 12
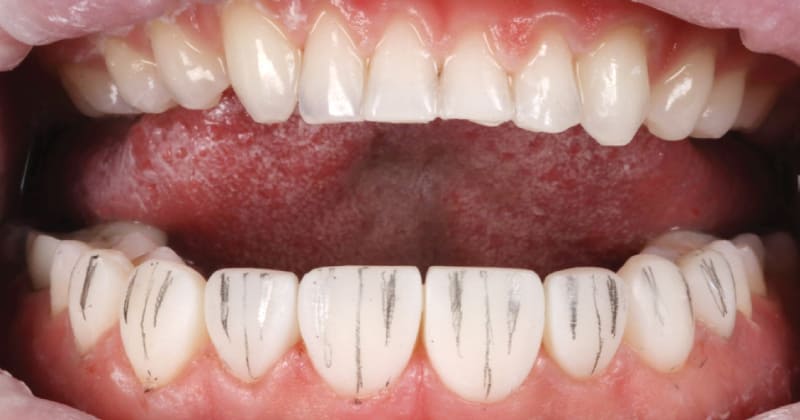
- Create the Buccal-Lingual and primary anatomy. Considier the emergence profile of the tooth, and polish it in 3 planes. Mark your line angles with a pencil and use a dark orange soflex disc.
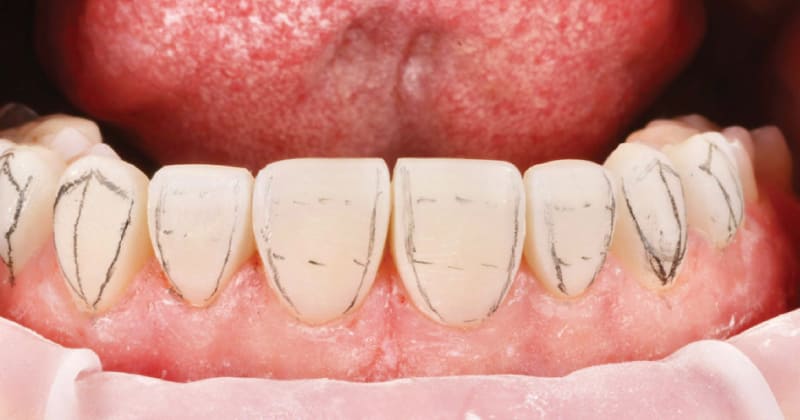
STEP 13
- Texturing your veneers. Check with your patient first that they want texturing added to their veneer.
- Mark a midpoint line and draw V shapes adjacent to this.
- Use either a tungsten carbide bur oe a red banded flame bur (turn the water off).
- Remove all markings drawn. This will create rough ridges and grooves which can be harsh. Use an orange soflex disc in a flicking motion. Use a pick EVE bur or purple ASAP bur to reduce the texture.
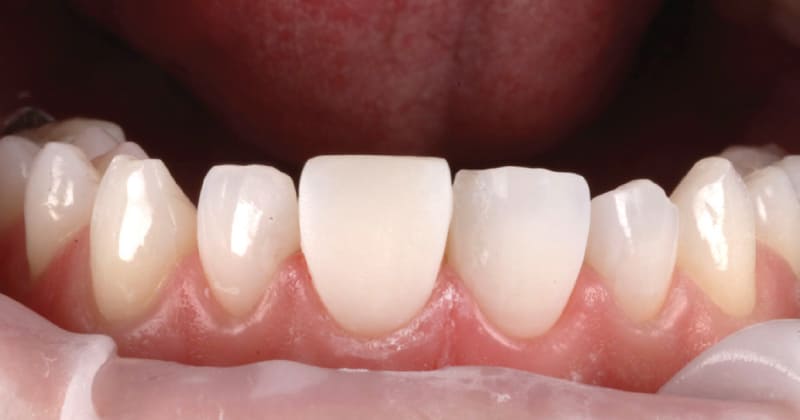
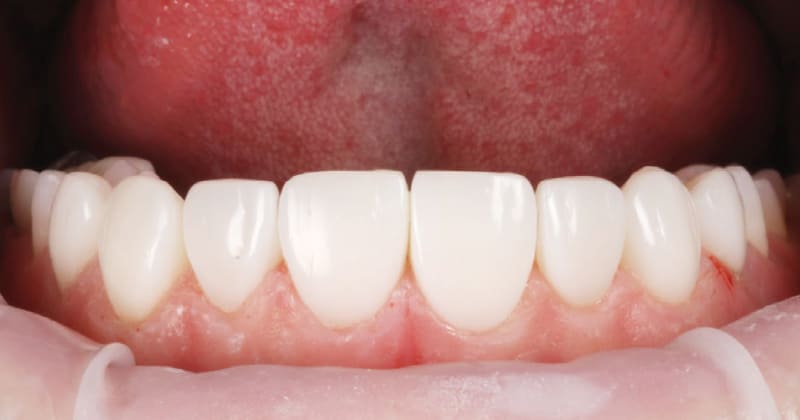
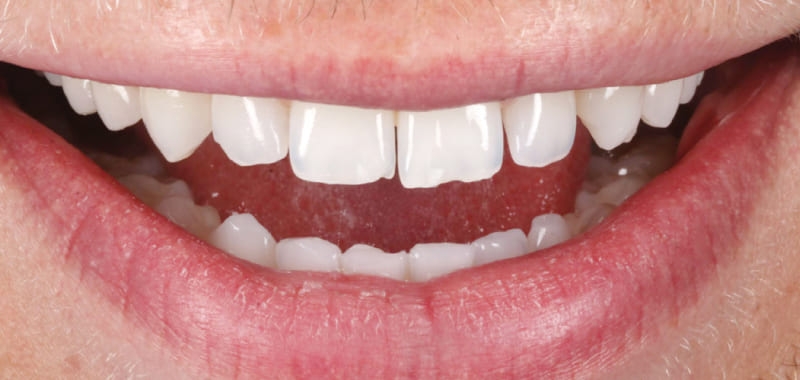
STEP 14
- Finish and Shine

This document was created with Dr Khalil Karwani
Dr. Khalil Karwani, a dedicated dental professional, embarked on his journey in dentistry with a degree from the University of Bristol. Following his graduation, Khalil immersed himself in the realm of private practice, accumulating four years of invaluable experience. Throughout his career, Khalil has honed his expertise in composite bonding, becoming a trusted authority in this specialized field.
Driven by his passion for restorative dentistry, Khalil pursued a postgraduate certificate in Restorative Dentistry, further augmenting his skills and knowledge. His unwavering commitment to perfecting smiles has earned him recognition among peers and patients alike.