GC Composite Injection Protocol
STEP 1 (1st Surgery visit)
NO PREP
- Consultation with patient. Understand the result the patient is
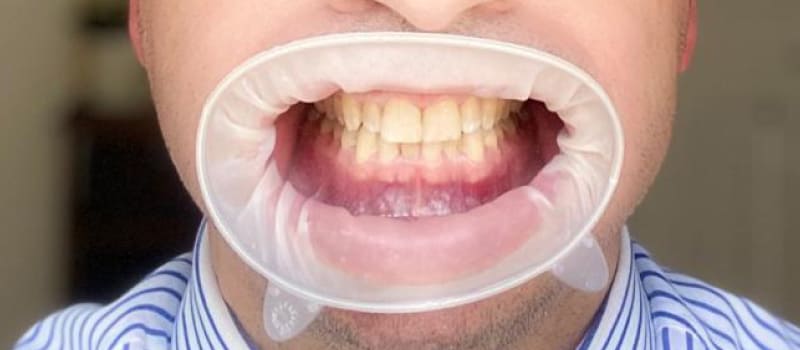
after. - Take front view retracted photograph under a natural light. Additional side view photos can also be taken.
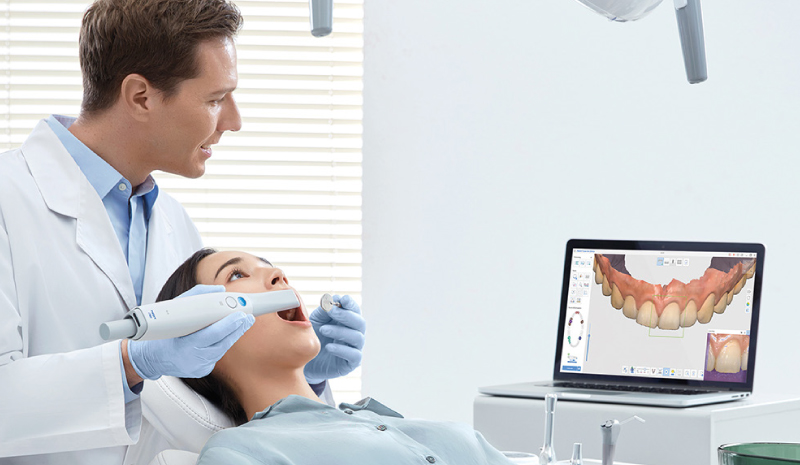
- Scan the patients mouth, and send the scan to the lab.
WITH PREP
- Consultation with patient. Understand the result the patient is after.
- Take front view retracted photograph under a natural light. Additional side view photos can also be taken.
- Scan the patients mouth, and send the scan to the lab. Inform the lab which teeth you intend on preparing.
STEP 2 (In Lab)
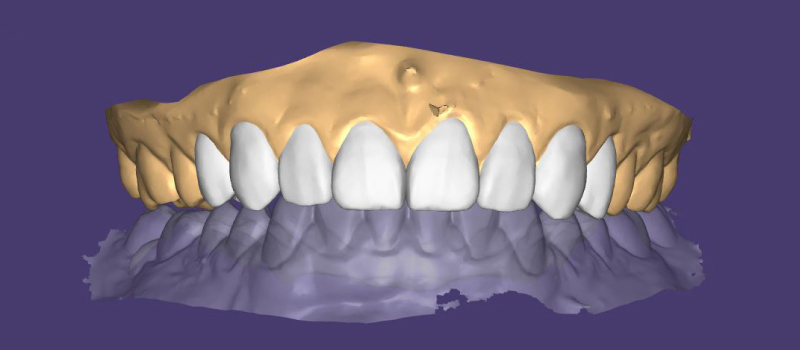
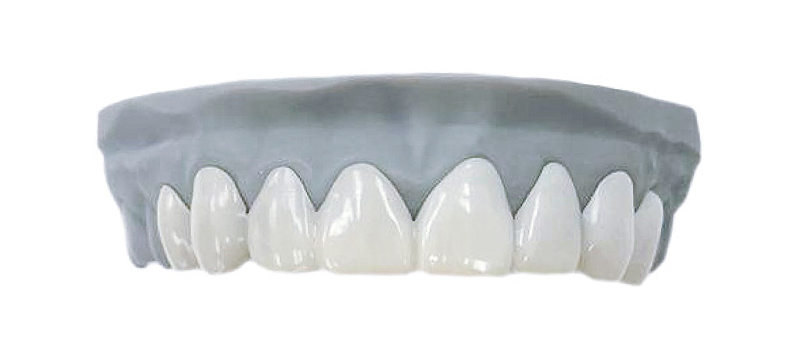
- The technician will design your patients new smile.
- You will be sent a link to view the digital design, you may share this with your patient.
- Once you have approved the design, if the case is suitable the technician will print a trial mock up, otherwise a putty will be made for you to make a trial mock up in surgery.
STEP 3 (Surgery visit)
NO PREP
- Try in the trial mock up.
- Inform lab if any changes need to be made.
WITH PREP
- Try in the trial mock up.
- Prepare the teeth where necessary.
- Take a new scan of the prepared teeth.
- Send the new scan to the lab, and inform them if any changes need to be made.
STEP 4 (In Lab)
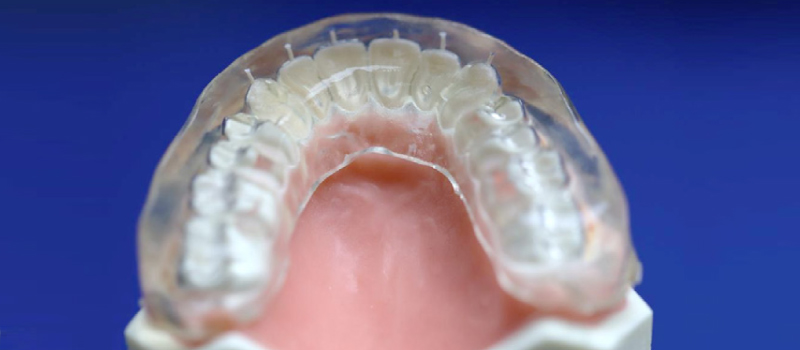
- Once approved, the technician will print the smile design model, and create a exaclear stent over it.
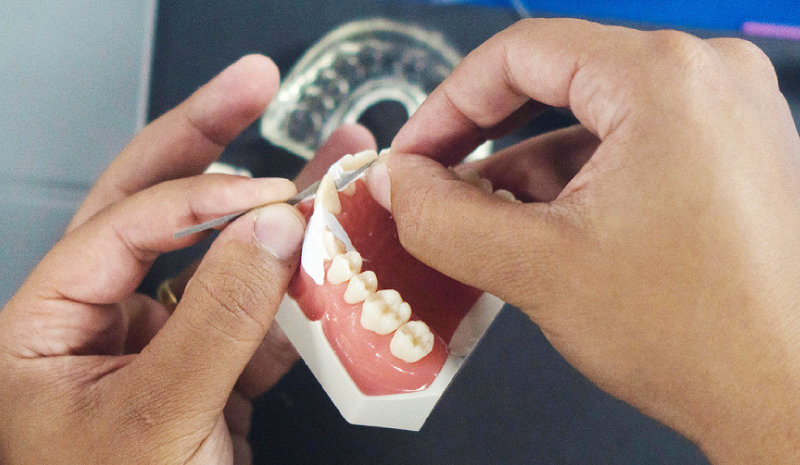
ALTERNATING TEETH INJECTION TECHNIQUE STEPS
STEP 1
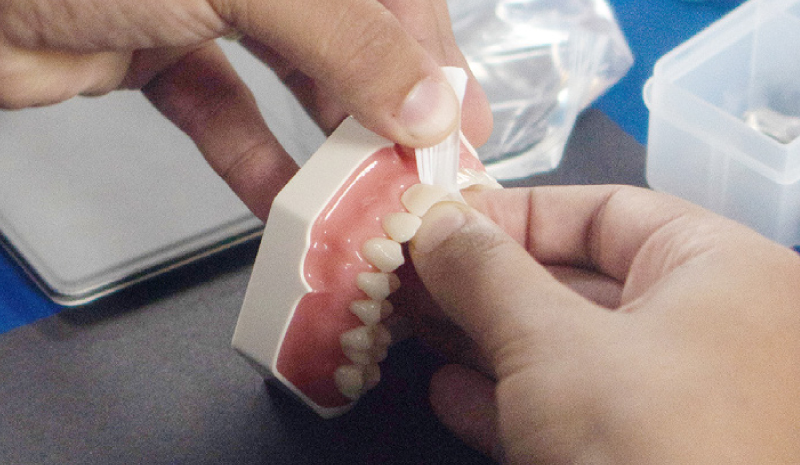
- Insert the PTFE tape between the teeth and then over the adjacent tooth, covering the teeth on either side of the tooth that will be veneered first.
STEP 2
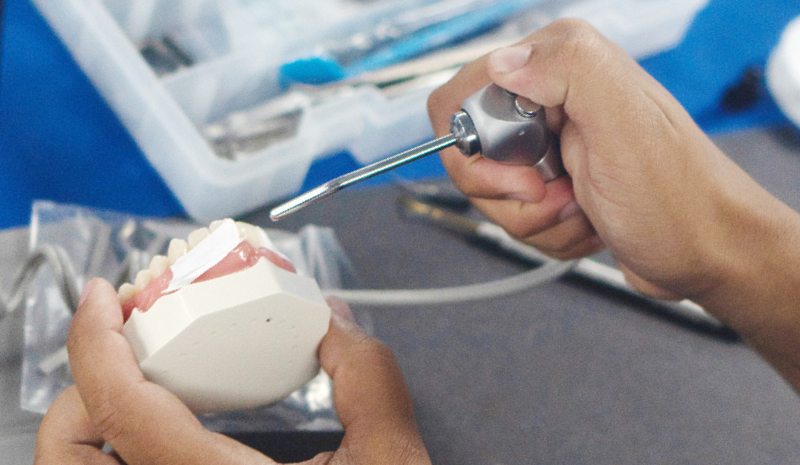
- Apply G-premio bond to the tooth that’s going to be veneered.
- Dry the tooth.
- Light cure the tooth.
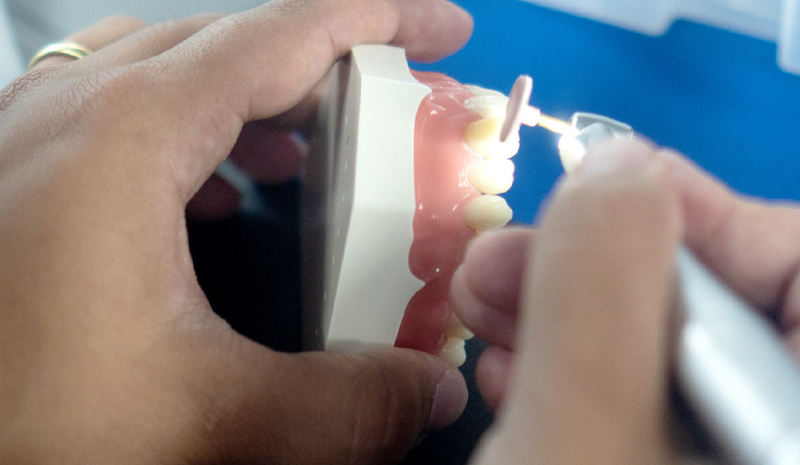
STEP 3
- Insert the injection tip into the stent, to make a hole in it.
MediMatch TIP1
Remove excess exaclear from the tip before injecting composite.

STEP 4
- Place the exaclear stent over the teeth.
STEP 5
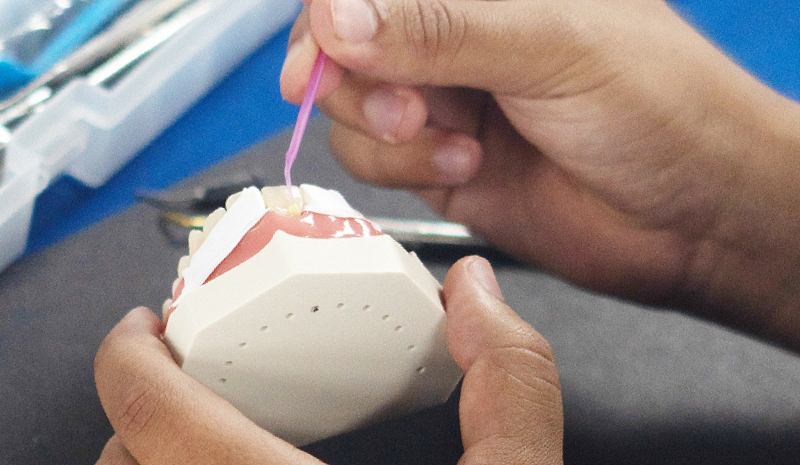
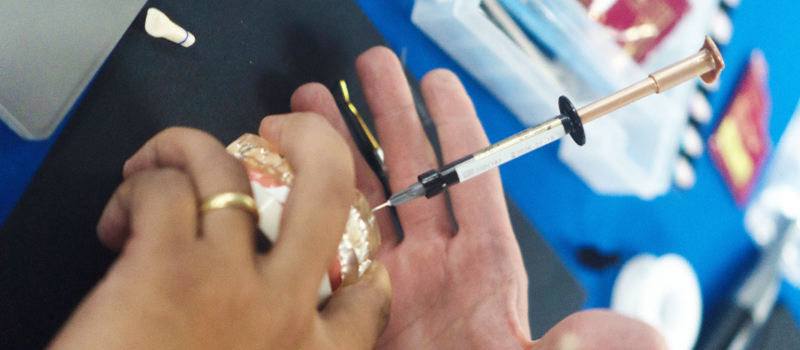
- Attach the injectable composite to the tip.
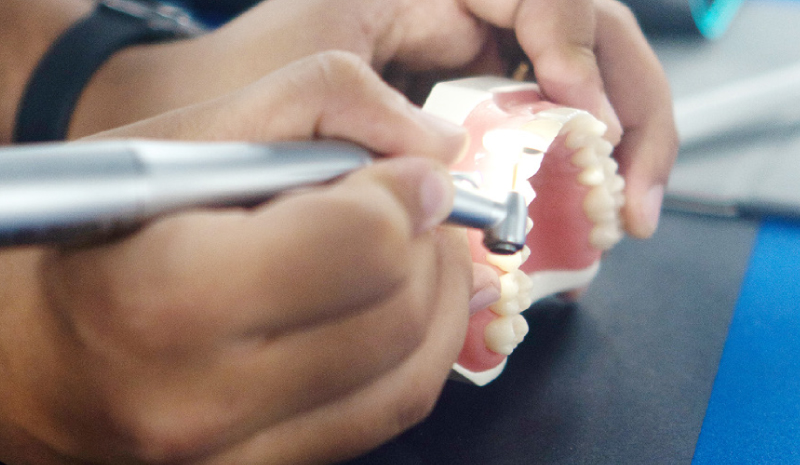
STEP 6
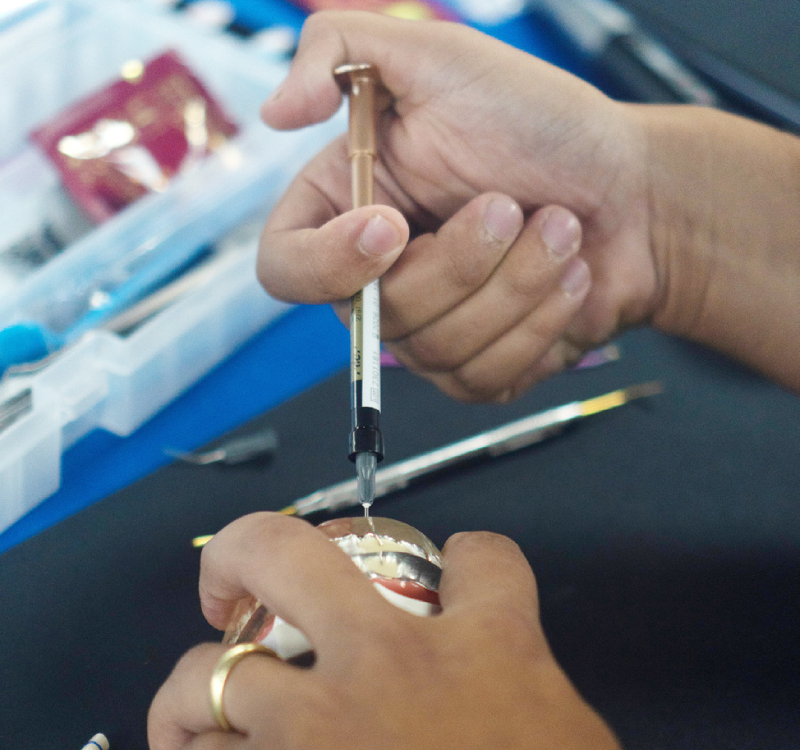
- Inject the composite.
- Move the tip up and down when injecting.
MediMatch TIP2
Ensure you have enough composite in the syringe before you start. Excess composite is better than too little.
STEP 7
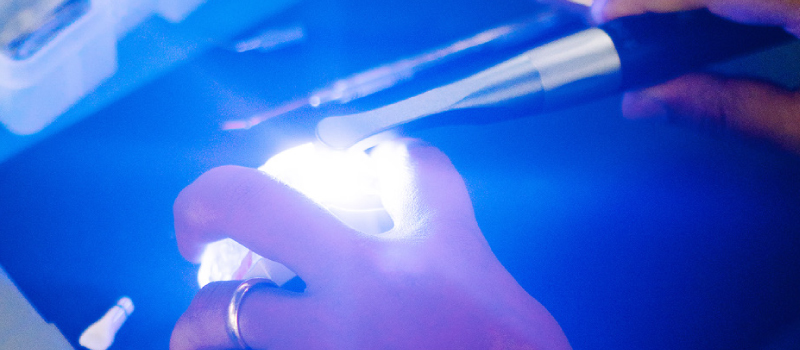
- Remove the injection composite, and light cure over the exaclear stent. Then remove the stent and light cure again.
STEP 8
- Clean up the margins.

STEP 9
- Use a file strip to neaten up mesial and distal contacts.
STEP 10
- Use the pink EVE diacomp polishing bur.
STEP 11
- Use the grey EVE diacop polishing bur to get the final polish.
STEP 12
- Take a new scan and send it to the lab to fabricate a nightguard for the patient.