Remove/Replace Resin Tray Film/Gasket
This procedure outlines the steps needed to replace a damaged or worn membrane on the Figure 4 Resin Tray.
Required Tools
- T20 Driver
- Nitrile gloves
- Replacement Resin Membrane and Gasket
Warning: Wear protective clothing, disposable nitrile gloves, and goggles while handling the resin tray.
CAUTION: If a leak/spill occurs, do not run the machine. UV curing will harden the resin on unwanted surfaces and will make the resin very hard to remove. A nonabrasive cloth and IPA will help clean up any spilled uncured resin.
CAUTION: Failure to clean the resin tray of partially cured resin will lead to membrane failure and failed prints.
- Place the Resin Tray on a flat surface as shown.
- Use a T20 Drive to remove the 10 fasteners securing the Resin Tray Clamp in place.
3. Gently lift upward on the resin tray clamp to remove it from the frame.

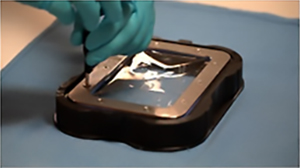
4. Remove the membrane and the gasket from the frame. Discard the old membrane and the gasket in accordance with local laws and regulations.
5. Clean the Resin Tray frame and Clamp with IPA. Allow for items to dry thoroughly.
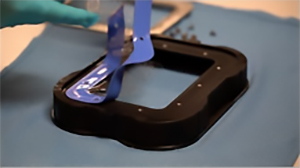
6. Place the new resin tray gasket back in the frame. Make sure to align the holes in the membrane to those in the gasket and in the frame.
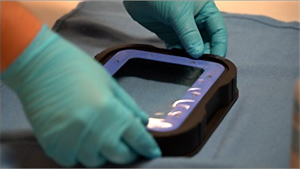
7. Affix the new membrane to the gasket. Make sure to align the holes in the membrane to those in the gasket and in the frame.
Note: Please inspect the new membrane for any signs of defects before removing it from the protective backing. If an issue is observed, please contact the 3DS support team.
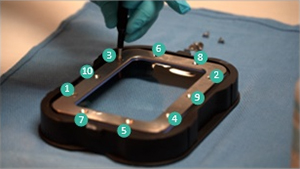
8. Reattach the Clamp using a T20 driver. Hand tighten in a star pattern for even tensioning (tighten down in alternate corners gradually).
Note: A recommended order for tightening is shown below.